Learning how to use WordPress images correctly is one of the most important things you can do to deliver an excellent user experience. The right images in WordPress add context to your post, capture audience attention and help to break up blocks of text to improve readability.
Incorporating images into your site is also a fantastic way to boost your presence with search engines. Sites like Google crawl your images and their data to learn more about each page you publish online. Not to mention, images can improve your overall online results too. Web pages containing images and videos generate up to 94% more impressions than text-only pages.
So, how do you optimize your WordPress images for posts and pages?
How to Add Images to WordPress
There are a few ways to add images to your WordPress blogs, product pages, and other locations throughout your website. Here’s a step-by-step guide for each option:
Inserting Images in WordPress Using the Admin Portal
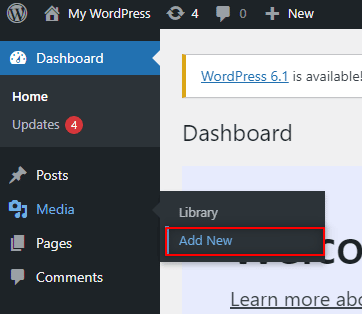
The first option is to log into your WordPress admin interface and add images directly to your CMS library. On the left-hand sidebar for your WordPress portal, hover over “Media”, and click on “Add New” in the drop-down menu.
Next, add files by either clicking on the “Select Files” button or dragging and dropping your images directly into the interface. You’ll be limited to uploading files with a maximum size of 50GB.

Your new files will appear underneath the “Upload New Media” interface. When you create a post or page on WordPress, you’ll be able to click into your Media library to access the files you upload.
How to add images in WordPress using the Classic Editor
If you’re using the Classic WordPress editor, then you can add images directly to a post or page by logging into your admin interface and creating a new page or post. Once you open the page or post editor, position your typing cursor in the spot where you want your image to appear.
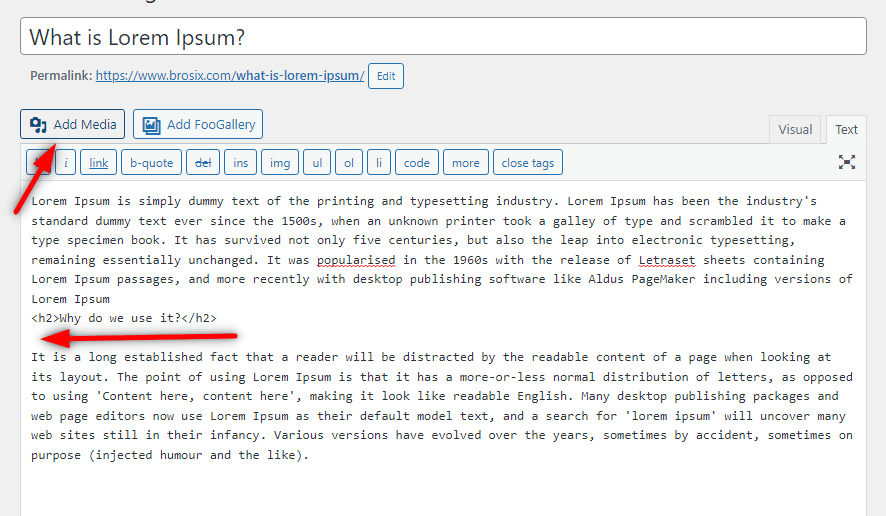
Next, click the “Add Media” button, and select your desired image. You can also drag and drop your files directly into the editor. Once you have your images in your library, click “Insert into page”. The visuals will appear in the spot where you placed your cursor.

Adding Images in WordPress with the Block Editor
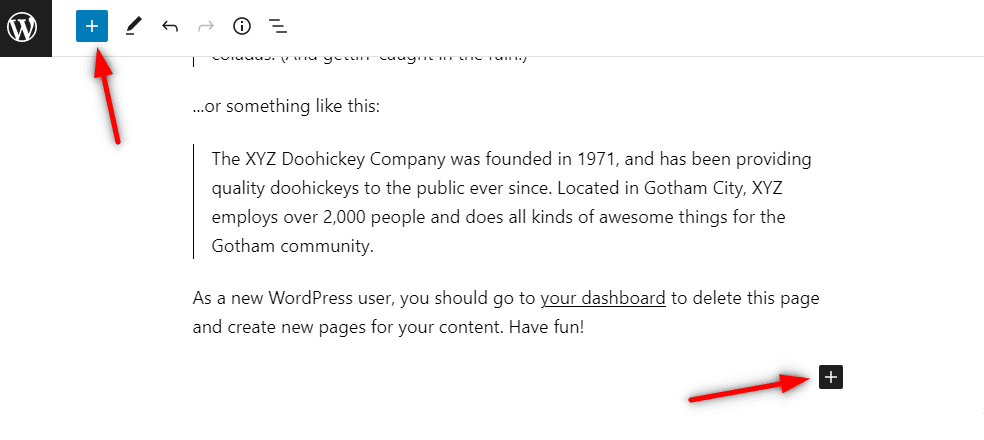
If you’re using the new version of the WordPress editor, known as the Gutenberg editor, you can still easily implement new images into your posts and pages directly. To start, open the page or post editor for the content you want to create, and click the “+” button to add a new block.
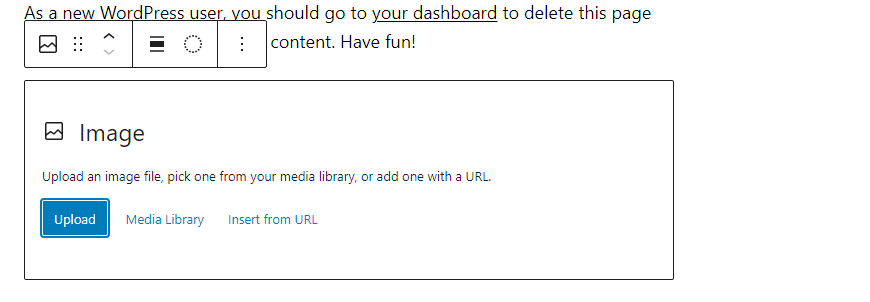
Select the “Image” block, from the list of options that appears, and then click on the buttons to either upload an image directly, choose a visual from your library, or insert an image from an URL.
Your image will appear in the WordPress Image block, where you can edit the content, change its title, or set the status for your featured image.
How to Optimize Images In WordPress
As mentioned above, search engines look at the images in WordPress when ranking your content, as well as your keywords, links, and other factors. If you’re looking to make money blogging with a large audience of online followers, you need to know how to optimize your images.
Here are some of the best ways to improve your image SEO:
1. Include Alt Text
Learning how to add alt text to images in WordPress is the first step in boosting your search visibility. Alt text is essentially the information given to Google about the nature of each image and its contents. It’s an HTML element added to your image tag. Alt text also helps people with accessibility issues or slow-loading computers to understand what your images entail.
To add alt text to your images using the block editor, click on the image block to open the settings tab. Here, you’ll see a box where you can add alternative text.
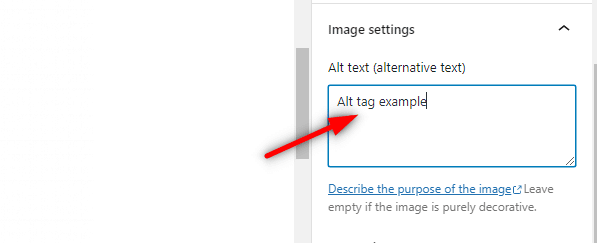
Make sure you provide a detailed description of the image, using your keywords where possible. Adding keywords will further enhance your overall SEO standing.
2. Add Titles to Images in WordPress
Similar to your alt text, your title tag also provides search engines and customers viewing your website with information about the context of an image. You can add title attributes in WordPress either through your media library or using the Block Editor. Expand the “Advanced” settings tab in the block editor to access the Title attribute option.
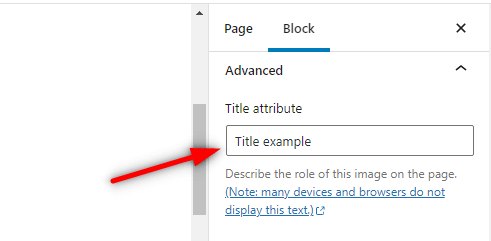
When adding title attributes, it’s best to stick to only a few words. Focus on the terms most relevant to your target audience and search engines.
3. Resize Images in WordPress
Resizing images in WordPress is another excellent way to boost your SEO and improve user experience. Large images are one of the most common causes of a slow-loading website. In general, all WordPress images should be smaller than 100KB and resized to the aspect ratio of your choice before you upload them to your library.
It’s also worth compressing your images using sites like TinyPNG or CompressJPEG, to reduce the amount of data WordPress needs to load when showing your visuals. You can resize your image directly in WordPress by going into your admin library using the steps above and clicking on the photo. Select the “Edit Image” option, then enter the width of your content area in the “Scale Image” section.
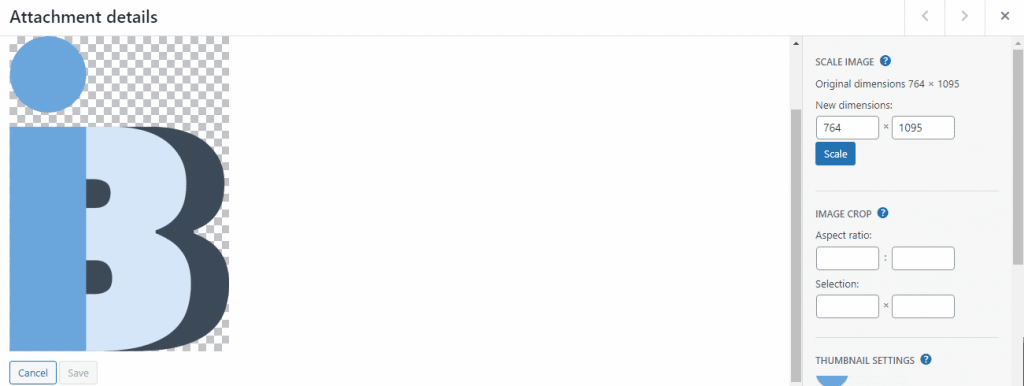
To use the resized image, copy the URL given by the WordPress library and place it within your posts or pages.
4. Use a Meaningful File Name
Aside from learning how to add alt tags to images in WordPress and using titles for your photos, it’s also worth getting your file naming right. The file name saved for your image on your computer will also appear in the meta data crawled by Google when assessing your site.
Your file name should tell Google exactly what your image entails, without the search engine needing to view the content. For instance, for an image of a person sitting on a lake, you could use man-sitting-in-front-of-lake.jpg.
Where possible, consider adding keywords to your file names to boost your blogging outcomes. However, be careful not to use the same keywords in too many files.
5. Serve Images in Next-Gen Formats in WordPress
While you can upload images in WordPress using standard file types like PNG and JPG, next-gen formats could offer even better results. Options like WebP, developed by Google, and AVIF utilize lossy and lossless compression formats, to deliver excellent quality visuals with low file sizes.
Google PageSpeed Insights even recommends serving images in next-gen formats where possible. The easiest way to convert images into Next-Gen formats on WordPress is to use a plugin.
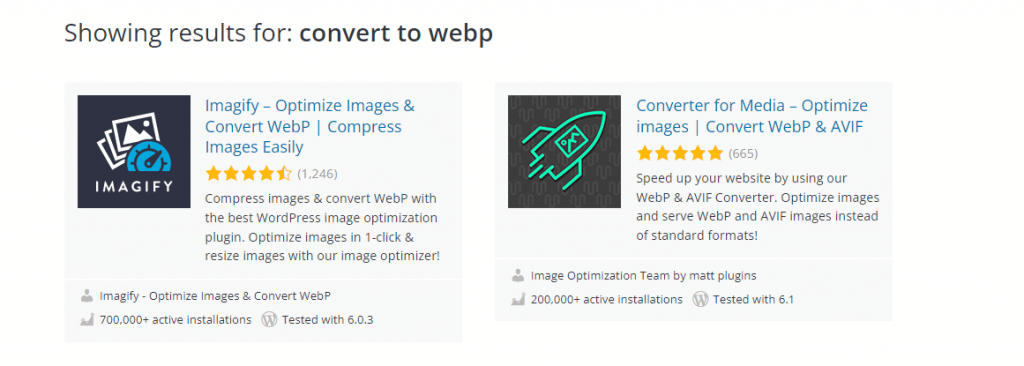
Adding the right plugin to your site will allow you to automatically create WebP and AVIF versions of each image you upload into your WordPress library.
6. Add Image Captions
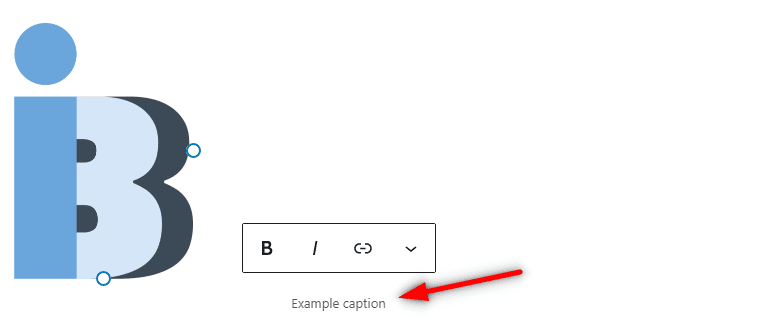
While captions might not be necessary for all images in WordPress, they can be useful to provide your readers and search engines with extra information. Captions are also a good place to showcase your keywords for ranking purposes.
Once you upload an image to your WordPress page or post, click on the image block, and the “write caption” option will appear below:
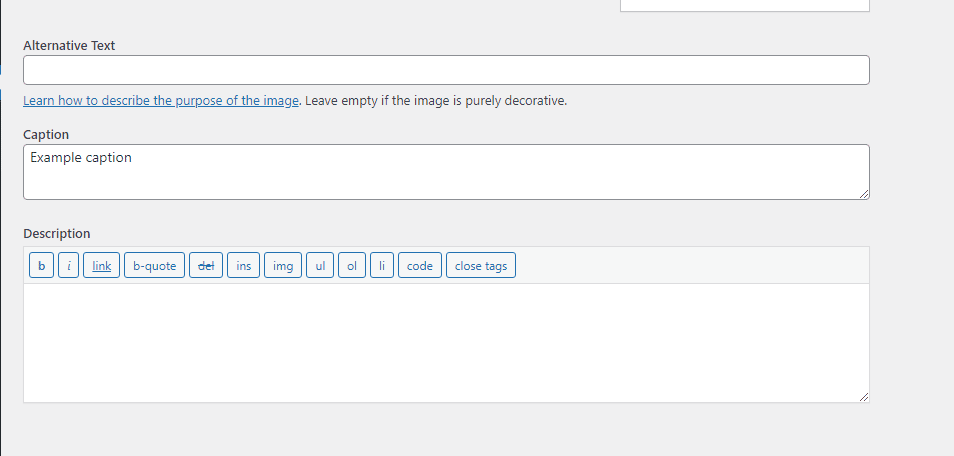
You can add captions to images within the WordPress library, by clicking into the library and using the meta-data section on the right-hand side.
How to Change Image Options in WordPress
Aside from allowing you to add captions, resize your images, and change the titles of your assets, WordPress also offers various options for adjusting image settings. To adjust your image settings, click on the “Media” section on the left side of your admin dashboard, and select the image you want to edit. Click the “Edit” button, and a window will open showing your settings.
Here, you’ll have access to options like:
- Edit image: This button opens a simple editor where you can crop and rotate the image.
- Title: Here you can add your WordPress image title.
- Caption: Insert a caption describing your image.
- Alt text: Control which text appears to replace the image on slow-loading sites.
- Description: Add an optional description to the image file.
- URL: Change the direct URL to where the image is stored on your site.
- Delete: Remove the image from your library.
You can also use the Image block within a WordPress page or post editor to change the alignment of the image, zoom in, and make various other alterations.

If you’re using the Classic Editor on WordPress, there are also some additional Advanced options available for images. For instance, you can adjust the title attributes which appear as tool-tips when someone hovers over your image. You can also control the image border and margins, set an image CSS class, and determine whether image links open in new tabs.
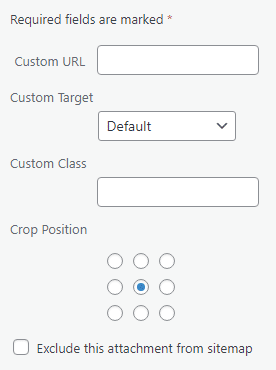
The Advanced settings also allow you to adjust link CSS classes and Link Rel attributes, for adding no follow statuses to certain content.
Interested in exploring more WordPress settings? Here’s how to hide a page title.
FAQ
Where are my images in WordPress?
Images are stored within WordPress in the uploads folder, inside the /wp-content/ folder section. Inside this folder, your media files will be stored according to when they were uploaded, by month and year. You can also see folders created by other WordPress plugins.
Why aren’t my images showing on my WordPress website?
If your WordPress Media library is loading normally but not showing images, this could be the result of improper file permissions, or an incompatible plugin. You may need to remove certain plugins, or update your version of WordPress.
How do I enable featured images in WordPress?
To create a WordPress featured image, go into your WordPress admin dashboard, and click on Screen options. Click the “Featured Image” option to ensure featured pictures can show on your pages. You should then be able to set featured images within your content editor.
Why is WordPress cutting off images?
If your WordPress site is only showing portions of images, this could be because the image you’re uploading is too large. Go into Settings then Media to see your image settings, and uncheck the “Crop thumbnail” option to scale instead of cropping your content.
How do I fix a broken image in WordPress?
The easiest way to fix a broken image on WordPress is to replace it. Scroll to the section of your page with the broken image, then click on the content and select “Replace”. You’ll be able to choose a file from your media library or upload a visual directly. Click “Update” to save your changes.
You might also like:
")


Article by
Nikola Baldikov